32" Jersey Barricade
$323.97
MADE IN THE USA & 100% RECYCLABLE
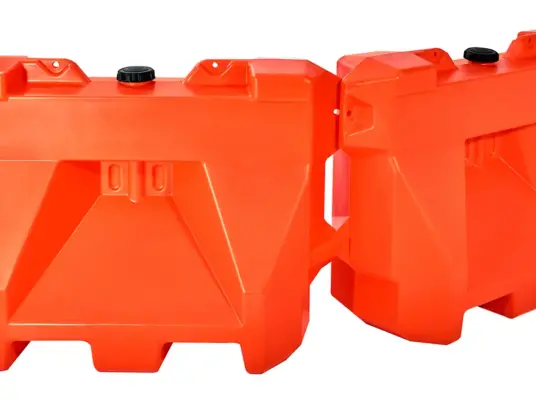
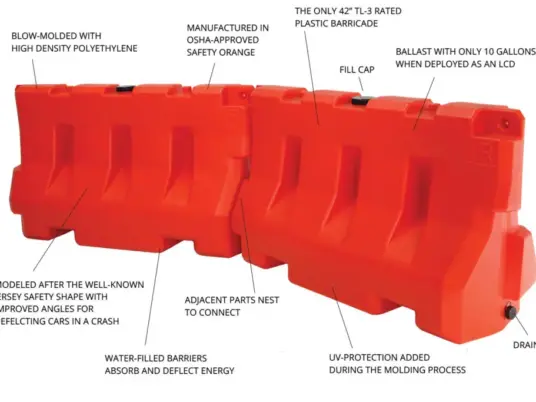
32-inch Jersey Safety Shape Barricade
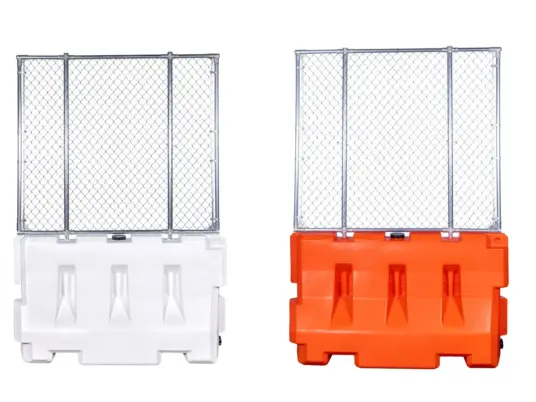
Not all barricades are created equal! OTW Safety goes the extra mile in development, design, and manufacturing to produce the best safety equipment on the market. Because different projects call for different products, OTW provides barricades in a variety of heights and weights to match your project requirements. Available in two weights, the JSS32x72 Jersey Barricade ensures dependability for every application.
Are you purchasing for a project, large or small? Looking for quantity discounts? Request a Same-Business-Day Quote* and lock in guaranteed pricing for 60 days.